Altering items of clothing that you already own is a budget friendly way to breathe new life into old clothes.
If you’re looking to make your t-shirts more intricate without sewing, you’ve come to the right place.
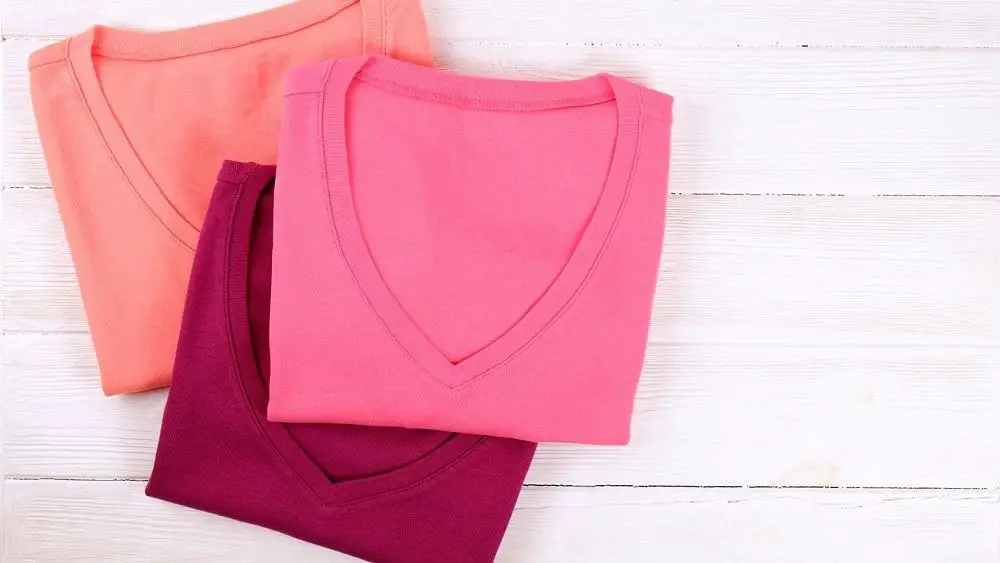
In this article, I will cover step-by-step guides on , to provide you with the inspiration to make intricate t-shirts that are perfect for several occasions!
So, let’s get into it.
A Guide On How To Make A V-Neck More Intricate
Equipment that you’ll need
- Crew neck t-shirts
- Scissors
- Ruler
- Cardboard
- Chalk or a marker
Method 1
Step One – Mark The Bottom Of The V-Neck With Chalk Or A Marker
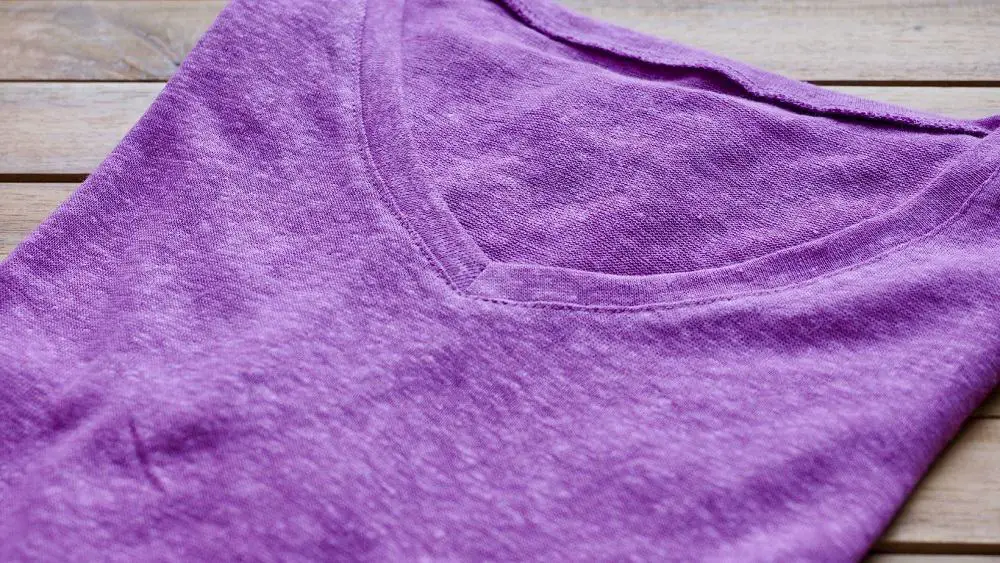
To begin, you will first need to turn your t-shirt inside out and mark out where the v-neck is going to end with chalk or a marker.
This is a fundamental step, as it’s going to be your guide as you customize your t-shirt. You can use your bust as a reference to figure out how far down you want the v-neck to go.
Step Two – Mark The V Neckline
Next, you will need to draw around the collar to mark the v neckline. In this step you will also want to grab your ruler and draw lines to connect the mark to the collar.
Step Three – Mark To Indicate Where To Cut The T-Shirt
Following this, you will need to use your ruler to add more markings down the center of your shirt, marking lines towards the point of the v neckline.
These markings should be approximately half an inch apart to ensure that they are even and properly spaced out but are still delicate for the intricate design.
You will need to use these lines to go across the triangle of the v neckline, following the shape of the collar of the t-shirt.
Step Four – Cut Off The Collar Of Your T-Shirt
Now it’s time to use your scissors to cut off the collar of your t-shirt.
Step Five – Cut The Rest Of Your T-Shirt
Now for the fun part! Insert the piece of the cardboard into your t-shirt and cut along the lines that you previously marked out inside the v-neck.
The cardboard is important to use in this step, as it provides a contrasting background that will allow you to see what you’re doing much more clearly.
Step Six – Stretch The Strips That You’e Cut
Once you’ve cut all of the strips, you will need to stretch all of the strips of material.
The process of stretching them allows the material to roll up, in turn disguising any raw edges. This also means that you don’t have to worry about your cutting being perfect.
Step seven – Turn the t-shirt round the right way
You will now need to turn your t-shirt so that it is longer inside out. Place the cardboard back inside the t-shirt.
Step Eight – Weave The T-Shirt Strips
Once your t-shirt is the right way round, it’s time to make use of those t-shirt strips you cut beforehand.
This is a simple process. You will need to grab the top strip and pull it down, then grab the second strip, and pull it over the top, then down. Next, you will need to repeat the process by pulling the third strip over the second strip and down over the fourth strip.
Repeat this process until you have weaved all of the strips and have reached the bottom of the v-neck.
When you’re still holding the bottom loop, you will need to repeat the process. You could do this again depending on the stretch of the material that your t-shirt is made out of and how deep the v-neck is.
Step Nine – Cut And Tie The Ends Of The Strips
Once you’ve finished weaving your t-shirt for the desired design, you will need to cut the bottom loop.
Place one end through the hole at the bottom and make sure that you tie the ends.
Step Ten – Put The T-Shirt On And Adjust Accordingly
Lastly, you can put your t-shirt on and adjust the weave until you’re happy with the overall look.
Now you can enjoy your new and improved t-shirt!
Method 2
Step One – Mark Up The T-Shirt With Chalk Or A Marker
For this design, the collar will need to be about an inch wider on each side.
Use your ruler to mark down the v neckline, being careful to mark approximately half an inch apart.
Step Two – Cut Off The Collar Of Your T-Shirt
Next, you will need to take your scissors and cut along the collar to get rid of it.
Step Three – Insert The Cardboard Inside Your T-Shirt
Following this, insert the cardboard inside your t-shirt and cut each of the t-shirt strips carefully with your scissors.
Step Four – Stretch Your T-Shirt Strips
Stretch each of your t-shirt strips to make sure that they roll up and conceal any rough edges caused by your scissors.
Step Five – Weave Your T-Shirt Strips
Next, it’s time to get creative! Weave your t-shirt by grabbing the top strip and pulling it down. Repeat this process with the second strip, pulling it up over the first, and then down again.
Pull the third up over the second strip, and continue this process until you reach the bottom of your t-shirt.
While holding the bottom, grab the first loop with your other hand, twist it, and pull the second strand up through the loop. Twist the second strand and then pull the third up through the second loop.
Continue this process all the way down your t-shirt until you have an intricate design.
Step Six – Cut And Tie The Ends Of Your T-Shirt
Once you have finished weaving your t-shirt, you will need to grab the bottom loop and cut it in half.
Place one end through the hole at the bottom of the t-shirt and tie both ends together.
Step Seven – Put Your T-Shirt On
Place your t-shirt on and enjoy your new t-shirt design!
Notes On DIYing Your T-shirts
Use High Quality, Sharp Scissors To Cut Your T-Shirts
When customizing your t-shirt, the process is much easier if you have a sharp pair of scissors to hand. Blunt scissors can hinder your progress, and having sharp scissors will ensure that each cut is sharp.
You don’t necessarily need to invest in an expensive pair of scissors for this process, but it would be good to use scissors that are specifically designed for similar jobs. For instance, fabric scissors are going to be a better choice than kitchen scissors.
Stretch Your T-Shirt Strips
The previous point leads into this point in that if you do have any rough edges that you want to conceal, you simply have to stretch your t-shirt strips.
This process will ensure that the edges of each strip will roll up, making sure that any mistakes or harsh edges are concealed. The result is a much sleeker overall look!
Always Turn Your T-Shirt Inside Out Before You Start Marking It
Before you begin marking up your t-shirt with your intricate design, you will need to make sure that you turn it inside out.
Working on your t-shirt when it is inside out is a much easier way to ensure that your t-shirt remains neat.
No one is going to see the inside of your t-shirt, which gives you a lot more breathing room when it comes to using permanent marker or chalk to mark out your design.
This will allow you to get creative without the worry of having to cut within the lines precisely when it comes to cutting out your t-shirt strips.
In Summary
So, there you have it! After reading this article, you should now have a few neckline cutting ideas on how to make your crew neck t-shirts more intricate!
Good luck and enjoy getting creative with your style.

I love helping people discover the best clothing items to suit their body shape, and transforming the way in which they see fashion and clothing. It can make such a good impact on a person’s confidence and happiness when they are happy and comfortable with what they are wearing.
- What Is Inseam And Why Does It Matter? - September 9, 2022
- Sneaker Ball Attire Ideas - September 7, 2022
- What To Wear To A Brewery - September 6, 2022