We all have those t-shirts that we have worn to death. When our t-shirts are looking worse for wear, we usually relegate them to the pajama drawer, never to see the light of day again. Worse yet, we may just throw them out.
You don’t need us to tell you how bad this is for the environment.
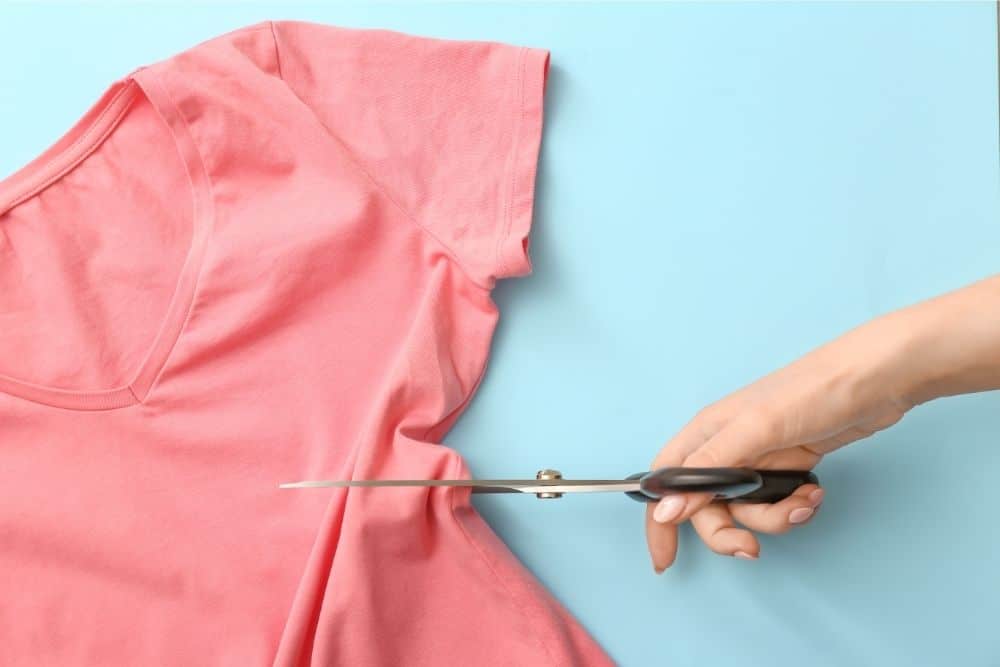
Although you may shudder at the thought of cutting up your favorite t-shirts, especially if you have little to no sewing experience, the truth is there are a few ways to breathe new life into your new shirts just by taking a pair of scissors to them – with no sewing required!
Yes, a lot of us have tied our favorite loose-fitting t-shirts into different knots in order to customize them, but this is a way more creative alternative.
Below, you’ll find six DIY t-shirt cutting ideas to alter your t-shirts and revitalize your wardrobe. Not only are these super easy, but low cost. You just need a few tools at your disposal, and you’re ready to go!
Plus, getting creative with your favorite tees is certainly a lot cheaper than buying new clothes. With these quick and easy alterations, you can be kind to your wallet and the planet and keep wearing your favorite t-shirts out and about.
Let’s get into it!
What You’ll Need
As well as your old t-shirts, you’ll need a couple of essential tools.
- Fabric Marker.
- Ruler.
- Scissors. These need to be super sharp. Fabric scissors are ideal, but any sharp pair of scissors will do.
Creating An Off-The-Shoulder T-Shirt
To create an off-the-shoulder t-shirt, put your old t-shirt on inside out and mark the middle of each shoulder with the fabric marker. This should be about 1.5 inches from the end of your shoulder.
Then, draw a smooth, curved line from the middle of your neckline to the middle of each shoulder. Cut out the neckline along the line you just drew, through both layers of the shirt.
Now lay out the shirt flat and trim the length of the shirt and sleeves to the desired length. Finally, put your shirt back on and pull the shoulders to one side to achieve an off-the-shoulder look.
Creating A Cut-Out Shoulder Shirt
To create shoulder cut-outs in your favorite t-shirt, put your t-shirt on and mark two areas on the front neckband of the t-shirt at the distance of your neck width.
This method is similar to the above method, as you now need to draw curved lines from the marks on the neckband to the top of the shoulders on the same side.
Now you can cut along the line you drew on the outside of the shoulder, stopping at the mark of the neckband and cutting through both layers of fabric.
On the front layer of fabric, cut from the outside edge of the neckband at the top and along the edge until you reach the mark.
On the other side of the t-shirt, cut along the neckband edge for the back layer of the t-shirt, joining up with the back of the neckband a further down than in the front. Do this on the other side of the t-shirt as well.
Creating A Cropped Tee
This is an easy way to alter your tee and is a style that will always be in fashion. Plus, you can make it as cropped as you want!
First, lay the shirt on a flat surface and make sure it’s completely smoothed out. Then measure where you want the new hem to be. This is particularly important when customizing a graphic tee, as you don’t want to lose any of the graphic!
Then take your ruler and your fabric marker to mark each side, so you can be sure you’re cutting straight. Begin cutting on one side, paying attention to the other mark to make sure you’re in line.
Now that the bottom half of your shirt has been cut off, you can give it a more lived-in look by stretching the new hem with your fingers.
If the sleeves of your shirt are heavy, you can make them shorter by cutting off the trim.
Creating A Tie-Up Crop Top
To create a tie-up version of a cropped tee, put on your t-shirt and fold the bottom to the desired length of your crop top. Mark the inside of the t-shirt with a fabric marker.
Then take off the shirt and turn it inside out. Place it flat and mark the center of the front bottom at your desired hem length. Draw a diamond, with the center front hem point acting as the top of the diamond.
The bottom of the diamond should be at the bottom of the shirt. Then, 1 inch below the crop top length marks, add marks to each side of the tee.
Draw slightly curved lines from the new marks to the bottom of the diamond, before cutting out the diamond just from the front layer of the t-shirt.
On the front of the t-shirt, cut along the curved lines. These will act as ties for the crop top. Turn up the ties, so they’re not in your way and cut straight across the back of the t-shirts, following the lines you made for the length of the crop-top.
Now you can see how it looks on! Put your new DIY crop top on and tie it in a knot.
Creating A Sleeveless Or Muscle Tee
To create a sleeveless tee or muscle tee out of your old favorite t-shirt, apply the same method as you used on the crop top. For a real muscle tee look, you can make the sleeves hang a little lower and wear a bralette underneath for an edgy vibe.
First, lay the shirt on a flat surface and make sure it’s completely smoothed out, and cut along where you want the new hem to be. Then take one sleeve and cut horizontally until you reach the shoulder seam.
Follow that seam and cut down until you reach the armpit. Then flip the sleeve over and cut parallel along the seam until the sleeve comes away from the shirt. Do this on the other side and to make the cut edges smoother, stretch them out.
Creating A Distressed Cut With Cap Sleeves
This is arguably the most difficult technique, but is still doable. The capped sleeves are actually simple to create with diagonal lines, and once you’ve got those down you can get creative by cutting at the neckline, sides, or bottom for a super distressed look.
Again, begin by laying your t-shirt on a flat surface. Then hold the armpit of one sleeve and cut a diagonal line to the right, cutting through the front and back of the fabric.
Once this piece comes away, you can repeat the process on the opposite sleeve to achieve some symmetry.
To make some distressed areas, cut lines of any length wherever you want! Truly go nuts. After cutting, you can use your fingers to stretch them out and widen them. Don’t hold back, really go for it!
Final Thoughts
Next time you notice your t-shirts looking a bit faded, we hope that you give these easy, no-sew techniques a try.
We think the distressed, rugged looks you can achieve with some of these techniques will work for a t-shirt in need of some TLC, and give them a vintage vibe.

I love helping people discover the best clothing items to suit their body shape, and transforming the way in which they see fashion and clothing. It can make such a good impact on a person’s confidence and happiness when they are happy and comfortable with what they are wearing.
- What Is Inseam And Why Does It Matter? - September 9, 2022
- Sneaker Ball Attire Ideas - September 7, 2022
- What To Wear To A Brewery - September 6, 2022