Winter is a time for festivities and celebrations around the holiday season, and stylish winter nails are an absolute must for these events.
However, if you’re wondering which nail designs you should do to brighten up your winter, you’ve come to the right place.
In this article, I will cover a variety of different nail designs for winter, so you’ll have plenty of inspiration for this upcoming season.
Let’s get into it.

Nail Art Trends For Winter 2021
There are a variety of different nail trends to brighten up your gloomy winter days. Below are a few of my favorites that you should try for yourself at home!
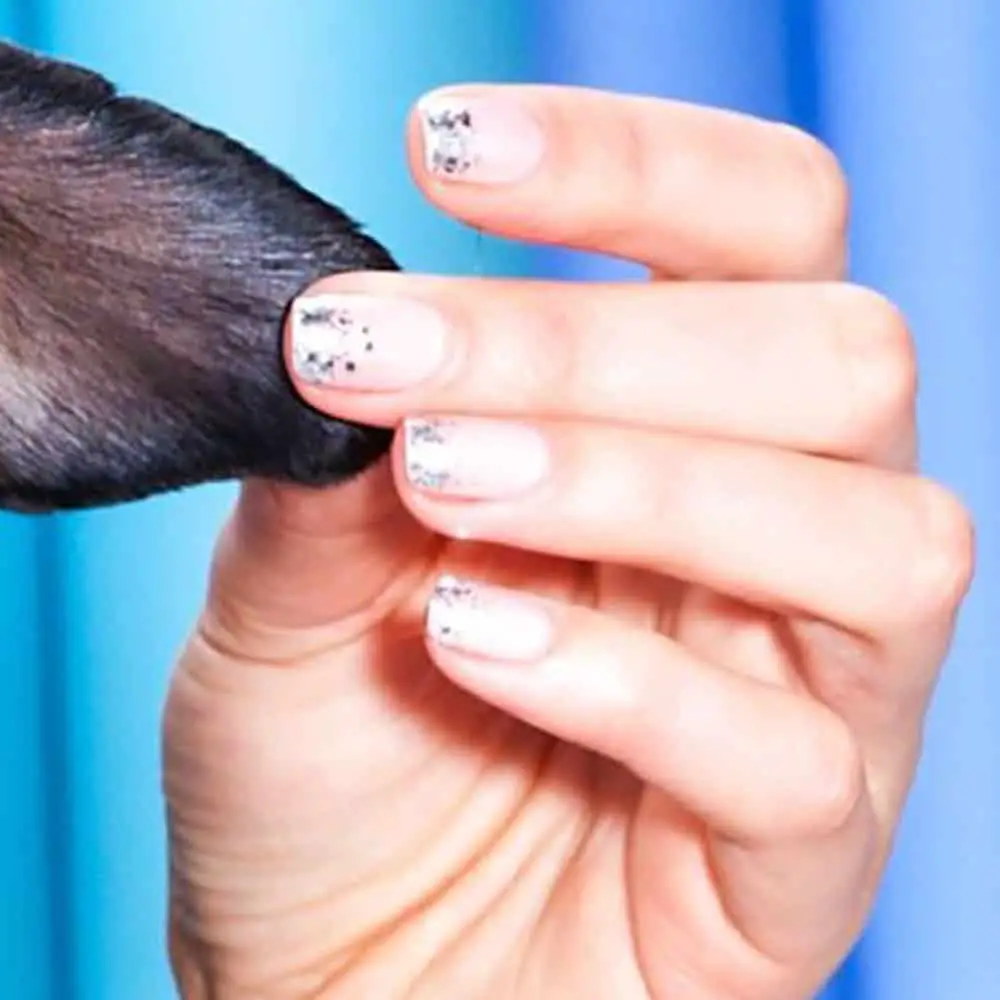
Metallic French Tips
Equipment You Need
- Nail file
- Nail clippers
- Cuticle scissors
- Cuticle pusher
- Base coat
- Metallic nail polish
- Light pink or silver nail polish
- Glitter nail polish
- Top coat
Manicure tape
Instructions
Prepare your nails
Step one - Clean your nails
Before you get started, you will first need to clean your nails so that you’re starting with a blank canvas. Make sure that you remove any old nail polish, and clean any build up that is under your nails.
Step two - Trim and shape your nails
Next, you will need to trim and shape your nails into the desired shape for this look. Whether you opt for a square or pointed shape, make sure that all of your nails are all uniform by filing them with a nail fire or trimming them with nail clippers.
Step three - Push back the cuticle
Push back the cuticles gently, and carefully trim any loose bits of your cuticles with cuticle scissors.
Be very careful to not cut yourself with the scissors during this step.
Step four - Apply the base coat
The last stage of preparation is to apply a base coat to each of your nails. The base coat will help to prevent your nails from chipping, and also stops the nail polish from staining your fingernails.
Make sure that your base coat is completely dry before moving onto the next step. Now you are ready to start the metallic tip design.
Apply the metallic tip
Step one - Apply the base color
Once you’ve applied a base coat, it’s time to choose a base color and paint your nails. For this look, an opaque light pink or silver nail polish works well, as these colors work well in contrast to the metallic tip.
Once you’ve painted your nails, allow them to dry completely before moving onto the next step.
Step two - Choose the width of the metallic tip
You will need to decide whether you want a thin or thick metallic tip at this stage. Current fashion trends tend to promote a thinner tip when it comes to French manicures, but this comes down to your personal preference!
Step three - Apply manicure tape
Next, you will need to apply manicure tape to your nails. Make sure that your nails are completely dry before you attempt this step, otherwise the manicure tape will snag the paint.
You also want to ensure that the space between the tip and the manicure tape is approximately the same for each nail.
Step four - Paint the tips of your nails
Once you’ve applied the manicure tape to your nails, you will need to apply the metallic nail polish to the tips of your nails.
Silver or gold metallic nail polish works beautifully for this look. Wait until your metallic tips have dried before you attempt to remove the manicure tape.
Step five - Paint over the metallic tips with glitter nail polish
Next, you will want to paint over half of your nails with a clear nail polish that contains glitter.
This adds the perfect glittery touch to your nails and creates almost an ombre effect that is a nice contrast to the sharp metallic tip. Allow your nails to try completely.
Apply a top coat
Last but by no means least, you will need to finish your nails by applying a top coat to your nails to seal everything in.
This will ensure that your manicure lasts for longer.
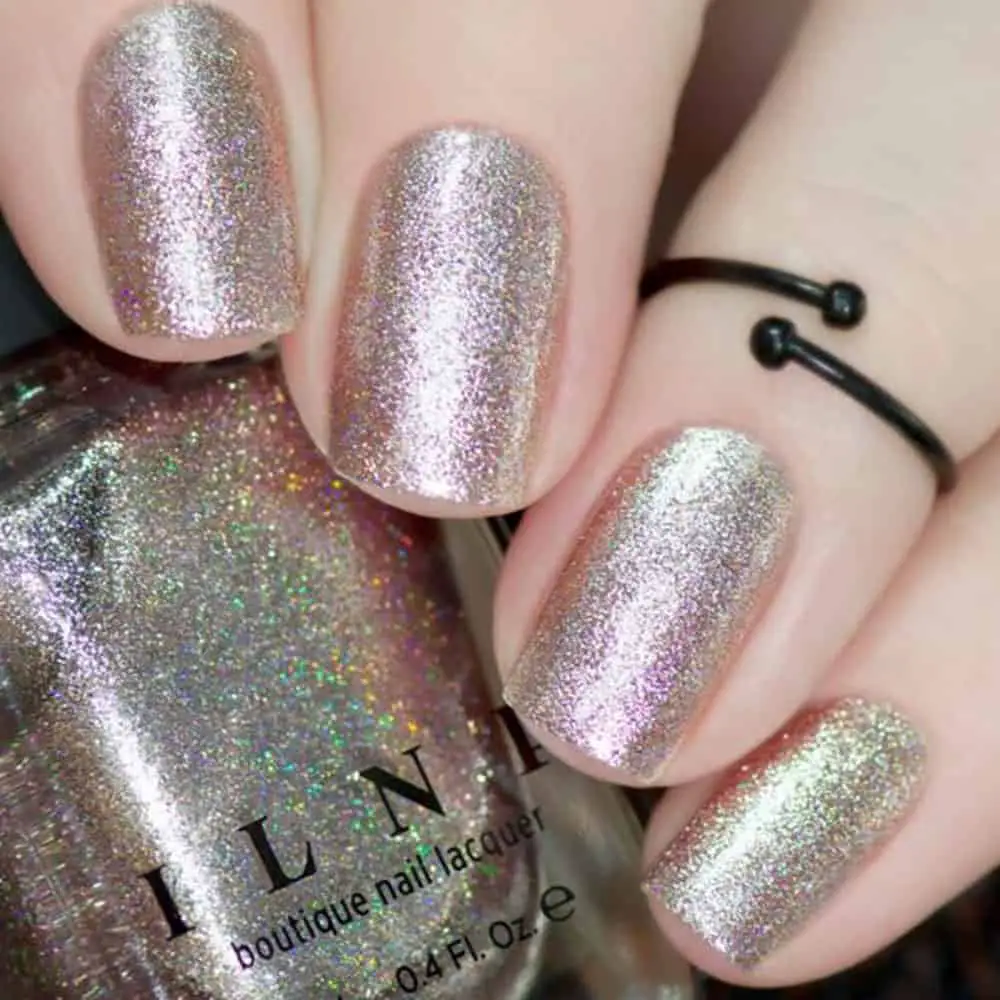
Snowy Metallics
Equipment You Will Need
- Nail file
- Nail clippers
- Cuticle pusher
- Cuticle scissors
- Base coat
- Metallic nail polish
- Glitter nail polish
- Top coat
Instructions
Prepare your nails
Step one - Remove nail polish
If you have any nail polish on, the first step you will need to take is to remove your old nail polish first. This will provide you with a clean base for your new nail design.
Step two - Cut and shape your nails to size
Next, you will need to cut your nails and shape them with a nail file. Whether you opt for an oval, almond-shaped, or square nail, make sure each nail is the same length when you have finished shaping them for the most uniform results.
Step three - Push your cuticles down
Following this, you will need to use a cuticle pusher to gently push your cuticles down on all of your nails.
If you have any loose skin around your nail, you can use your cuticle scissors to gently cut it away for a sleeker overall look. Always be careful not to cut yourself when you’re using scissors on such a delicate part of your nails.
Step four - Apply the base coat
When it comes to using nail polish, a base coat is your best defense against staining your nails.
Apply the base coat and allow your nails to dry completely for a minimum of ten minutes before moving onto the next step.
Paint your nails
Step one - Apply the metallic nail polish
Once you have allowed the base coat to dry completely, it’s time to apply the metallic nail polish. You will want to make sure that you apply two coats of nail polish to each nail to ensure that the color pay off is as bold as possible.
Make sure that you wait until your nails have completely dried before you apply the second layer of nail polish.
Step two - Paint over the metallic nail polish with glitter nail polish
Once your metallic nail polish has dried completely, it’s time to paint over it with a clear glitter nail polish.
This will add a gorgeous sparkly touch to your nails, creating the snowy metallic look we’re aiming for.
Step three - Apply the top coat to your nails
When the glitter nail polish has dried, it’s time to set your nails by applying a top coat.
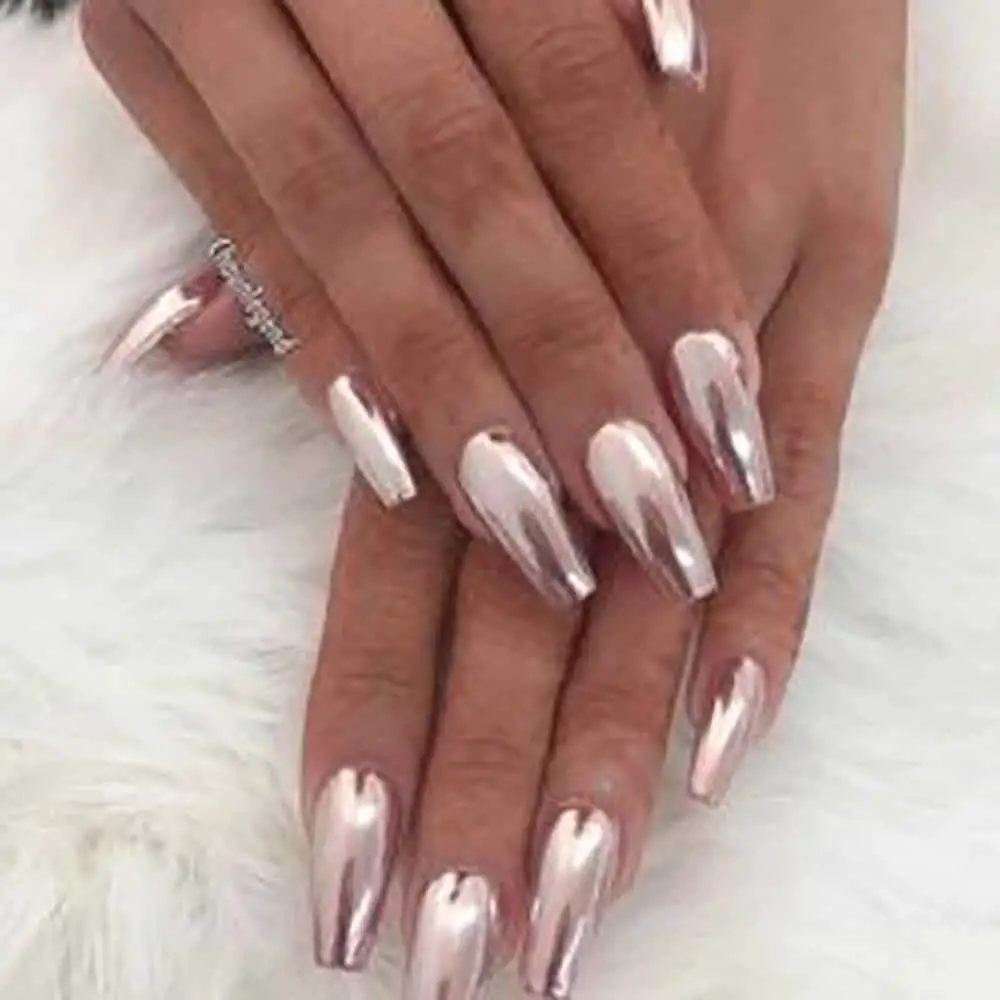
Mirror Nails
Equipment That You’ll Need
- Nail file
- Nail clippers
- Cuticle pusher
- Cuticle scissors
- Base coat
- Water-based top coat
- Regular top coat
- Nail polish
- Foam eyeshadow brush
- Mirror powder
Instructions
Prepare the nails
Step one - Clean your nails
First up, you will need to clean your nails with nail polish remover and remove any dirt from under the nails so you’re starting off with a clean surface.
Step two - Cut and shape your nails with a nail file
Next you will need to trim your nails and decide on the appropriate shape for this design. Once you’ve decided what your desired shape is, make sure that you file them all the same so that they are a uniform length.
Step three - Push your cuticles down and trim the area
Push your cuticles down with a cuticle pusher and make sure that you trim any loose skin from around your cuticles.
Paint the nail design
Step one - Apply the base coat
First up, you will need to apply the base coat to your nails to ensure that your mirror nails are going to pop.
Step two - Apply two layers of nail polish
Once your base coat has dried, you will need to apply two layers of nail polish. You can use any nail polish that you wish, but mirror powder tends to show up the best against black nail polish.
Step three - Apply a layer of top coat to your nails
Following this, you will need to apply a layer of top coat to your nails. It’s important that you don’t allow the top coat to dry all the way. You want it to feel rubbery, but not sticky or tacky as you don’t want it to become snagged easily.
For the best results, use a quick-dry top coat that is non-water based.
Step four - Tap the mirror powder with a foam eyeshadow brush
Next, you will need to pick u p the mirror powder with a foam eyeshadow brush. Starting from the cuticle and working your way towards the tip of the nail, apply the powder. Make sure that you’re gently flicking the brush down as you tap the powder onto the nails.
While you can get special applicators for this process, a foam eyeshadow brush works perfectly fine, too.
Step five - Buff the mirror powder into the nail polish
Following this, once your nail is coated with the mirror powder, you will need to gently buff the surface of your nail with the foam eyeshadow brush.
Make sure that you aren’t applying too much pressure, as this can create dents which will ruin the overall look of your nails.
As you keep buffing the nails, the surface of your nail will become smoother and smoother over time.
Step six - Wipe off any excess mirror powder
Make sure that you wipe off any excess mirror powder using a soft brush, like an eyeshadow or kabuki brush.
Step seven - Apply a water-based top coat to your nails
Following this, you will need to apply the top coat to your nails.
Always make sure that you use a water-based top coat, as this will prevent cracks in the powder’s finish from occurring. If you apply a regular top coat first, it will cause damage to the mirror powder and you will be able to see it on the nail’s surface.
Step eight - Finish with a regular top coat
Once you have set your nails with a water-based top coat, you can finish your nails with any regular top coat.
This will ensure that your winter manicure remains in a better condition for a longer period of time before you attempt another design!
Allow the top coat to finish completely and your mirror nails should be done.
In Summary
So, there you have a variety of different nail designs that will see you through winter 2021!
Whatever the occasion or your mood, I hope you have plenty of inspiration next time you want to do a manicure at home.
Get creative with your color combinations and most importantly, have fun!
- What Is Inseam And Why Does It Matter? - September 9, 2022
- Sneaker Ball Attire Ideas - September 7, 2022
- What To Wear To A Brewery - September 6, 2022

